Lesson 4 explored how marks and lines can be consciously used as part of a visual language that has a conversation with the viewer. For example, as a tool to pull focus on areas of significance.
Unlike previous lessons, this exercise was studio based with the emphasis on showing stages of drawing development rather than finished work.
Step 1
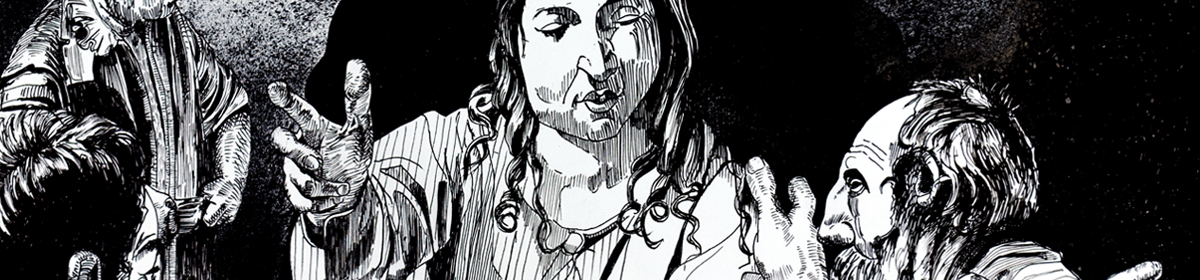
My subject was the patient experience of being admitted into an NHS hospital. It crossed over directly with work on another project.
I thumbnailed ideas for composition; exploring the story and figuring out the most effective visual solution.

Step 2
One thumbnail was selected and scaled to A3 in Photoshop. I printed this and created a pencil drawing on a lightbox combining the thumbnail layout with detail from my reference photographs.

Working on a scaled-up thumbnail worked well and is something I will incorporate more into my practice.
I decided to use different sized fine liner pens to give a nice range of marks without the need to wait for ink to dry. The brief specified starting with marking making before joining these up with lines.

I reached a stage where I started to pull the image together using line and dense marks for tonal depth.

References
List of illustrations
Figure 1 – Hadfield, Hugh (2022) Thumbnails [Fountain pen] In possession of: The author
Figure 2 – Hadfield, Hugh (2022) Line drawing scaling up the thumbnail to A3 [Pencil] In possession of: The author
Figure 3 – Hadfield, Hugh (2022) Interim stage of the drawing with focus on mark making [Pencil and fine liner] In possession of: The author
Figure 4 – Hadfield, Hugh (2022) Finished drawing with lines and marks [Fine liner] In possession of: The author
